Saturday, September 21, 2024

Keeping and 486 and Pentium PCs going - A few Repairs and Mods

I grew up with PCs. My first one was a 486DX-33Mhz with 4Mb of RAM (I still have the order sheet somewhere) which was an ok machine at that time (1994). I had a lot of fun with that machine, it served me well for almost 2 years, when it got replaced by a much more powerful Pentium 100MHz with 16Mb of RAM, which was later paired with a Sound Blaster AWE 32 with 2Mb or RAM!

Here is a shot of my first PC Tower (extra points if you guess the game on the screen):

My very first 486 PC on display - circa 1994

In the past few years, I was lucky enough to find a vintage PC that came in a nice and classic mini AT Tower (I love the "Vader" vent design in the front). Inside the case, a working 486DX-33 motherboard, with 4Mb of RAM (as my 1st PC!):


The 486DX-33 board after some dusting


The CMOS battery (from Varta) has started to leak - a bit of corrosion is evident on the keyboard connector shield


Old CMOS Battery removed


Motherboard without the CMOS battery


Removing the battery corrosion residue with Vinegar

I lated added a battery holder together with a diode to replace the original rechargeable CMOS battery by a non-rechargeable 2032 coin battery. 

Before using a vintage computer, it is always a good idea to replace the capacitors of the the old AT power supply. I inspected my newly acquired PSU and bingo! I saw evidence that the caps have leaked.

PSU under going a recap


A few months later, I came across someone selling a Pentium 100Mhz motherboard, which it was my 2nd PC, that I kept for 3-4 years.

My Pentium 100Mhz motherboard!


My vintage case did not come however, with the very cool 7-segment clock speed indicator. You got have that! I then went to AliExpress and bought 3 small 7-segment green leds and built my own on a breadboard.


Figuring it out the led combination to display "100"MHz (blazing fast!)


Installing the clock display into the AT Case with the help of 3D printed part and hot glue!


Adding an independent fan controller to further reduce the noise of my new CPU fan (the original CPU fan bearing was very noisy!) 


My vintage AT case with its new clock speed led display showing "100"MHz!


Testing the Floppy Drive after being cleaned and lubricated: 


After installing a Sound Blaster 16 into my new old rig, I noticed the left channel was very low, hinting to a potential cap problem. Time to investigate and recap the SB16:

SB16 Value in its glory (with a muted channel)


SB16 during the recap process


Problem found! Cap measuring nothing


All caps with a black dot were replaced - no more muted channel issue!


Sunday, September 3, 2023

Technics Cassette Deck RS-BX828 Maintenance and Mod

The RS-BX828 cassette deck from Technics is a high-end model released in the early 90's. It features 3 Heads, Direct Drive mechanism and 3 DC motors being 1 quartz direct-drive motor for the reel, one for the capstan and one motor for opening and closing the cassette compartment.

Such robust motor construction allows for a very small wow and flutter of just 0.03%. 

The Technics RS-BX828

Monday, February 20, 2023

Repairing a "mute" Technics SL-1600MK2 turntable

 The Technics SL-1600MK2 is basically an older brother of the famous SL-1200MK2. It has an identical heavy platter and a similar overall body weight. On top of the robustness and features of its younger and famous sibling, it has the benefit (to some, a downside) of an auto-return, soft touch buttons for cueing.

A nice shot of a SL-1600MK2

Unlike its popular cousin, the SL-1600 series were only manufactured from 1977 to 1981, meaning all models you may be lucky to find on the market are over 40 years old. Adding to the fact that this model has a more complex circuit board, tone arm and cuing mechanisms, proper maintenance is a must to keep this turntable spinning!

Monday, January 10, 2022

The fun (and never ending) 3D printer upgrades and mods

First of all, Happy 2022 everyone!


It has been a long time since my last post, to compensate this will be a long and detailed post about the 3D printer upgrades I installed in the last 18 months. 

Before acquiring my 3D printer back in mid-2020, I researched through several articles and reviews for a while. I was looking for a competent, relatively reliable entry-level FDM/FFM printer with future upgrade potential that would not break the bank (after all, my printer would not be used often, just as a hobby really). 

Although there are options of 3D printers the come completely assembled, I was not afraid to opt for a DIY model, where some initial assembly is needed. I ended up narrowing my search down to the Chinese brand Creality and ultimately to their Ender 3 v2 model. 

My heavily modded Ender 3v2

Monday, March 8, 2021

Repairing the king! Bringing a Sony D-Z555 back to life and giving it a new rechargeable battery

Like many others that grew up in the 80s/90s, you probably have fond memories of going to school listening to your Sony Walkman or later on their Discman. Among the many models of portables that Sony made over the years, a few top of the line models remain in the minds of collectors and audiophiles alike as the best sounding portables ever made. Walkmans like the WM-DD9, WM-DD100, WM-DC2 with the king in terms of sound being the (semi-portable) WM-DC6 - which reigns as one of the best portable cassette players ever made.

On the realm of digital music, Sony had their Discman series. This line has a few players that commonly make the top of the list of the best players ever made are the D-Z555 (also called D555), D10/D100, D35, D303 and D350. More often than not, the throne of the best Discman ever made goes to the D-Z555 for a combination of features, looks and sound quality.

Note that the best portable disc players were made in the early 90s and below, when it was considered a luxury item made for audiophiles. When the Discman became more main stream, some features were added such as ESP (Electronic Shock Protection) or later MP3 discs playback, but with these new "features" it came price cuts and the end of their high-end units.  

The Sony D-Z555 was released in 1989 and it features not one but two (!) backlit LCDs displays, one of the displays spotting a spectrum analyzer (how cool is that for a portable!?). Inside the unit, you will find two audiophile-grade PCM66P DACs and for the very first time on a portable and consumer device: 8 times oversampling and a DSP chip. The player also spot a digital optical output (which was a very new technology in 1990, especially on a portable unit!), a remote port (for an optional IR remote) and line out. 


The Sony D-Z555 (or D-555) and it's 2 backlit LCD displays in action
PS: testing it with a great game soundtrack from the time the D-Z555 was released (1990)!

Monday, February 15, 2021

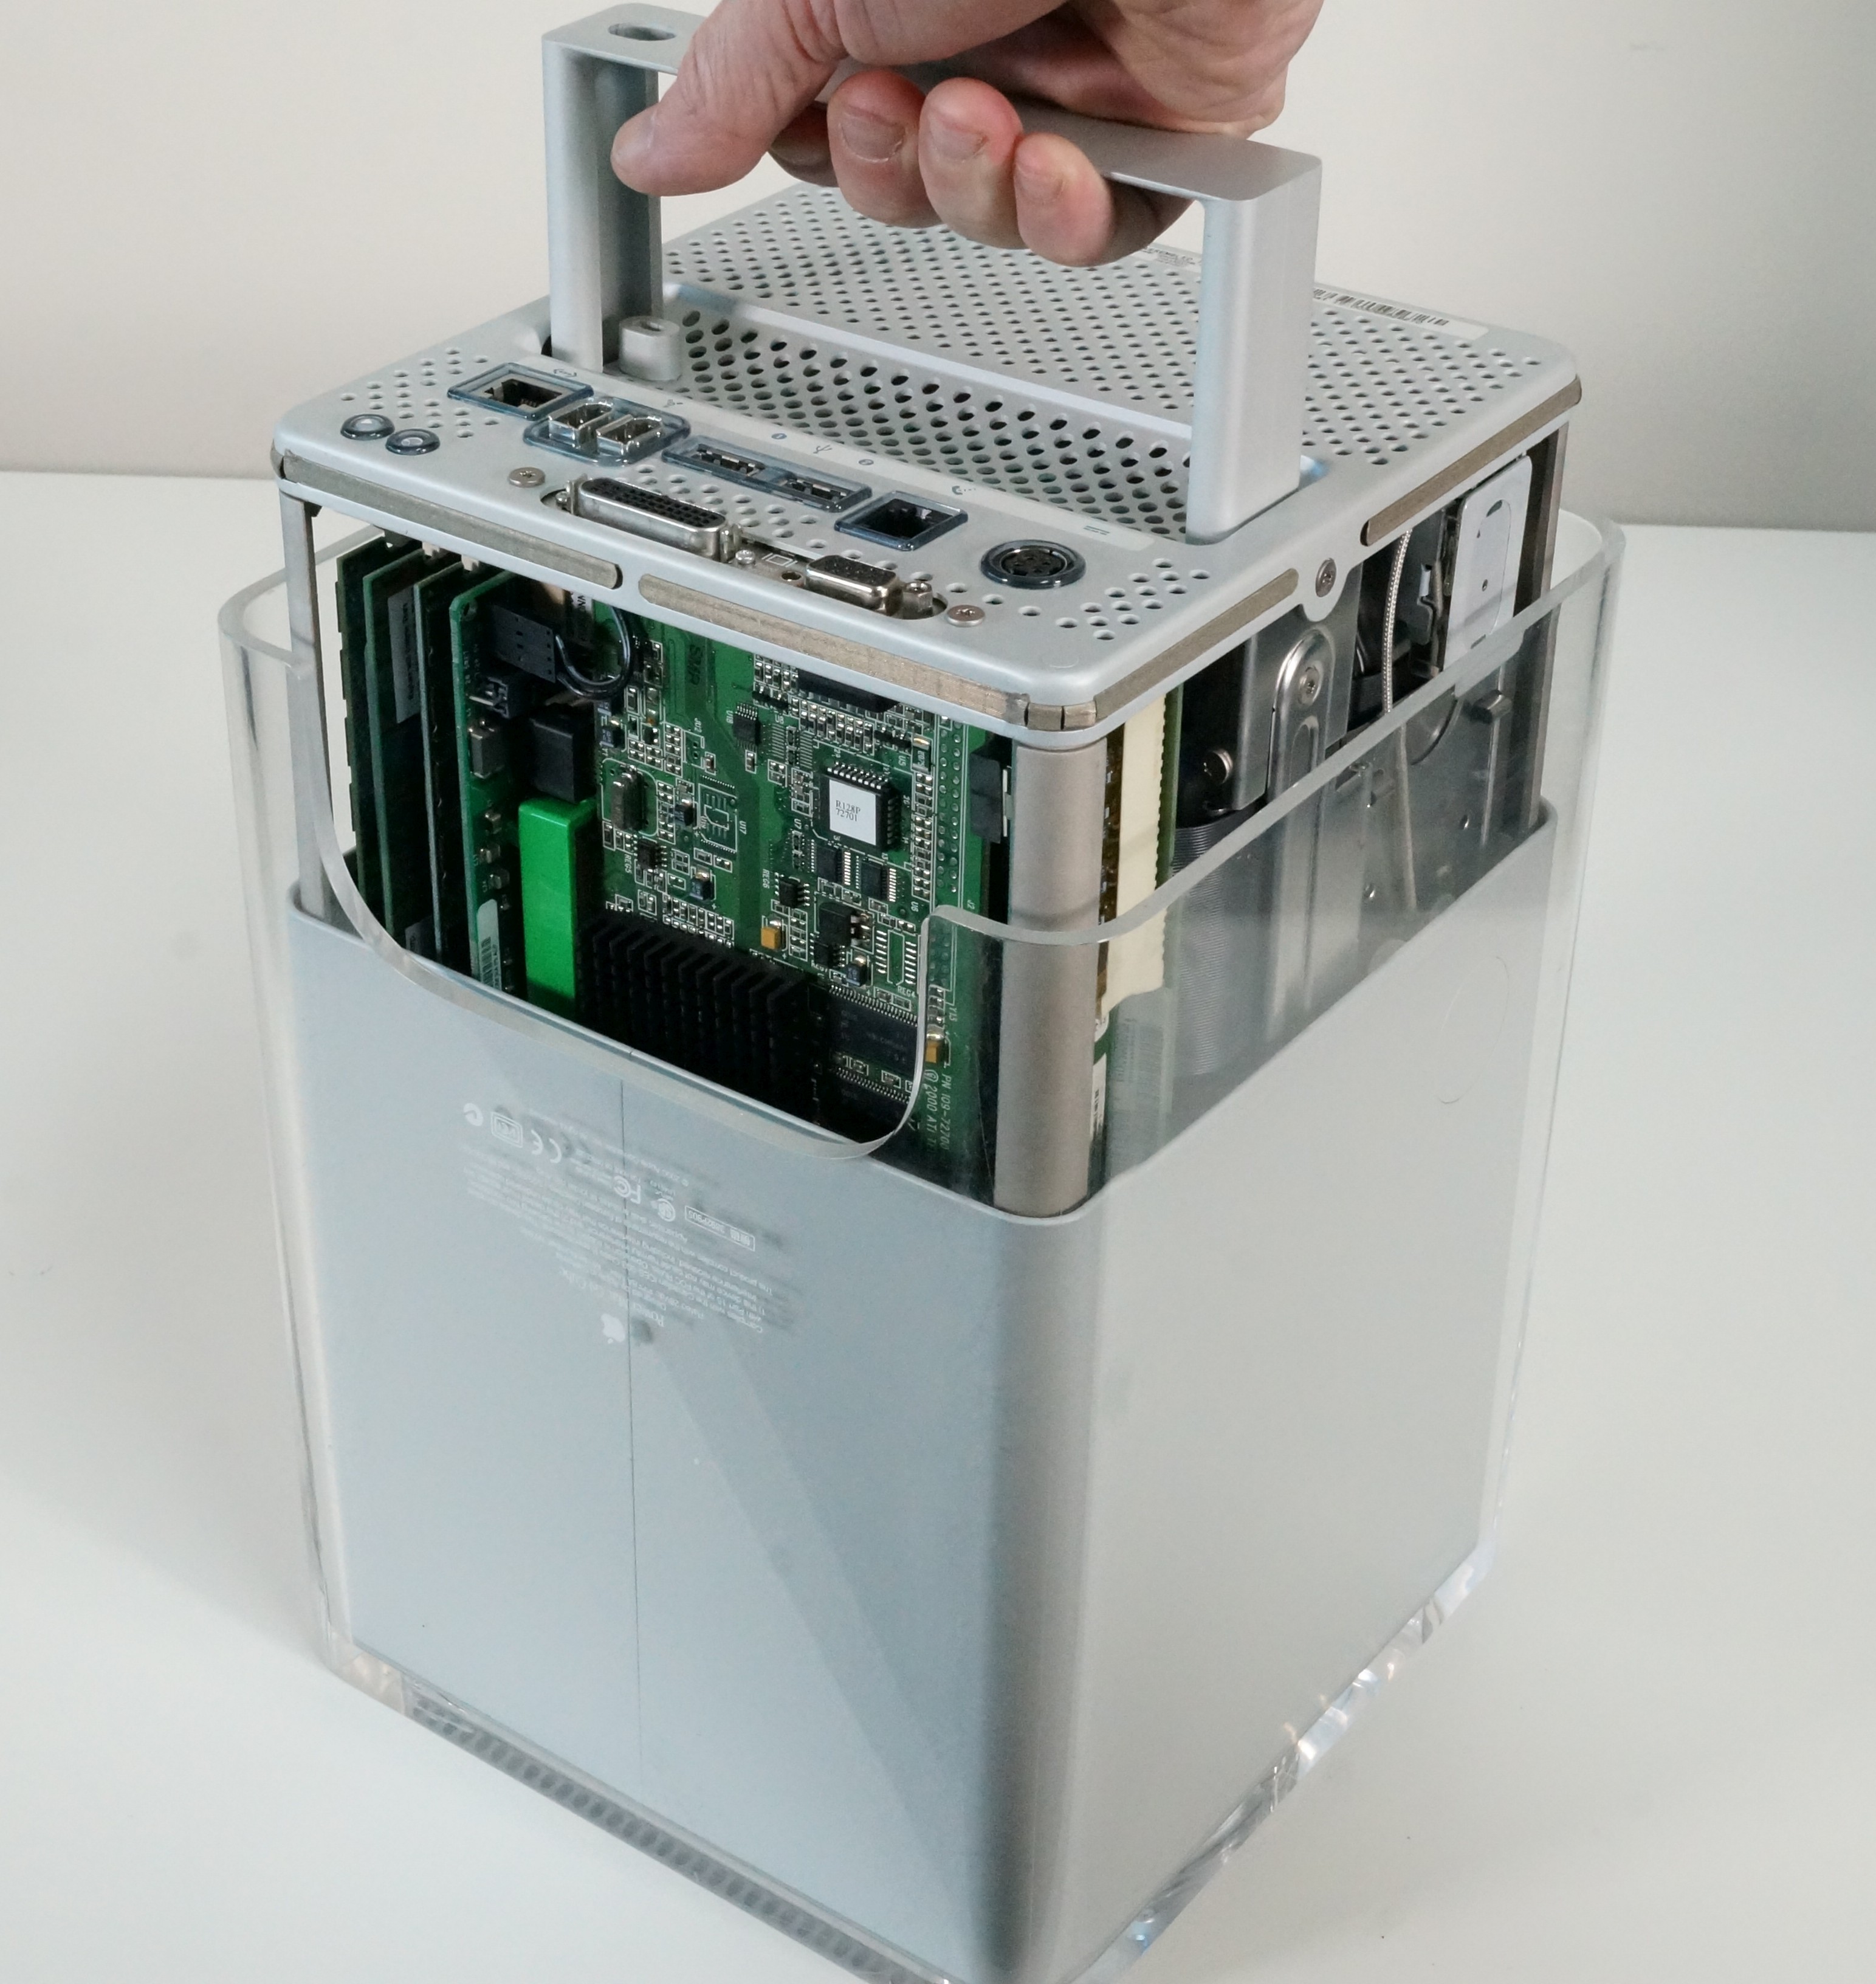
Power Mac G4 Cube - Power Supply replacement


The Power Mac G4 Cube is a very unique Apple computer, with its special and compact desktop (for the time at least) "cube" form factor. It features  easy access to its internal components for (some) upgrades, but mostly, this accessibility is used to show off to your friends and family. 
Unfortunately, it ended up being a commercial failure due to lack of specific market focus and higher price compared to other Apple products of its time with similar or higher specs. Thus, it had a very short life span, being produced only between July 2000 and July 2001 what today lead to a somewhat rare and collectible Mac.


The Cube, like most Apple products, is a solid machine and if you are lucky enough to find a reasonably priced one, most units tend to be working to this day. Among the non-working ones available, chances are that it's because of its power supply (PSU) being dead. Sadly, the Cube PSU is custom made for the Cube, using a proprietary connector cable - making it very rare / expensive to find a plug and play replacement. 

Thankfully, you are lucky enough to come across this article! :)


Thursday, January 7, 2021

The wonders of 3D Printing

This has been a long overdue post on how useful having access to a 3D printer can be. I have one for the past few months and I am still learning new functions in the program slicer and I am very rusty in terms of CAD design software. Throughout my career, I learned a little bit of AutoCAD but I never really used, so most of it I had forgotten. Thus, having a 3D printer gave me an opportunity to re-learn CAD and of course, learn about the intricacies of preparing a 3D model to be put into our physical world.
I am not going to go much in depth as this post is not a tutorial on how to design and 3D print parts. There is simply too much to cover and much better resources out there. To illustrate the "wonders of 3D printing", I will focus on a simple, yet useful feature of 3D printing: DIY repairs. 


My printer is the Creality Ender 3 v2, that despite being a budget, is a very competent printer, especially for beginners.  


My 3D printer setup with some customized (printed) mods